Part 2: Get the fusion table ready for ArcMap
- Now, get the fusion table ready for ArcMap. First, query/filter out bad data. Click on Options -> Filter, and add 3 filters:
- "Where Longitude > 0"
- "Where Latitude > 0"
- "Where date >= 1/1/2009" (just get 2009 data to give ArcMap some breathing room)
- Export as csv for use in ArcMap (File -> Download)
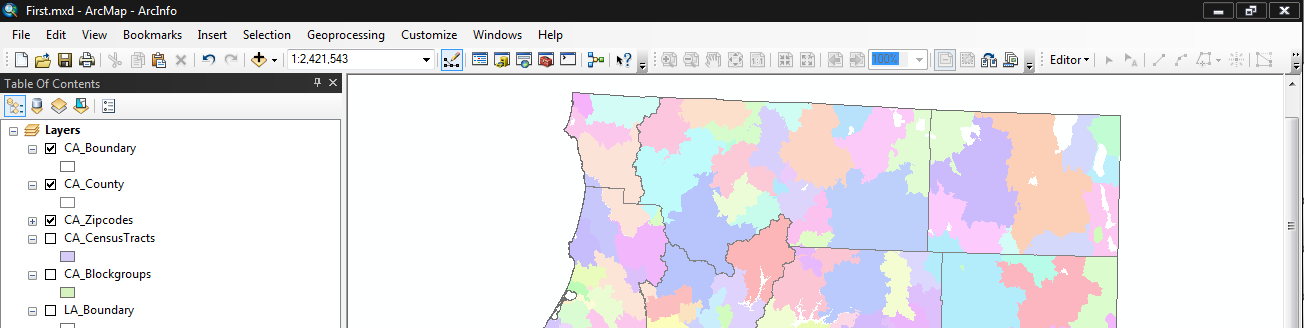
Part 3: ArcMap
- Import the csv file
- Map the data by XY coordinates (make sure to set the coordinate system to WGS1984)
- Export (save) the data as a new shapefile (GIS data layer)
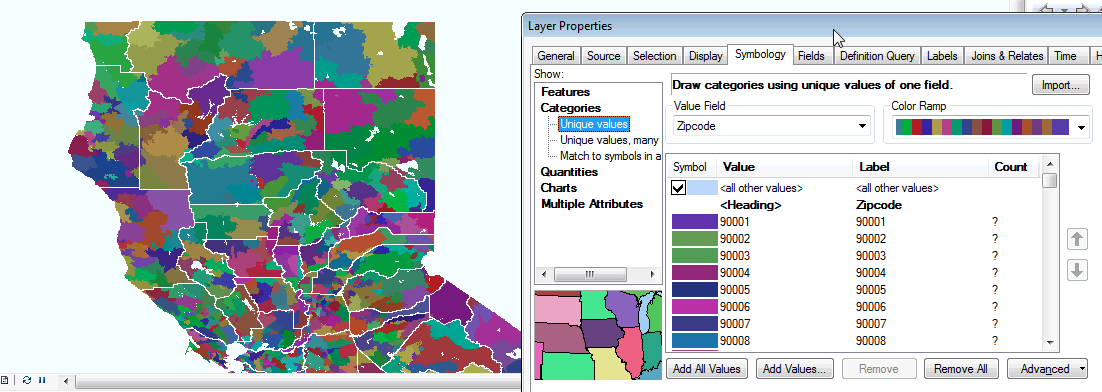
- Play with symbology (categorical mapping by the "cat" field)
- Add time dimension to your layer: Properties, Time tab, enable, and select Date (not the DateTime) field (ESRI)
- Explore the time slider (ESRI)
- Play your data over time (ESRI)
- Apply Spatial statistics (directional distribution) to your temporal data
- Toolbox -> Spatial Statistics -> Measuring Geographic Distributions -> Directional Distribution
- For the Case Field, make sure to select Date (not DateTime)
- Enable time to the new layer created, and play the temporal animation again